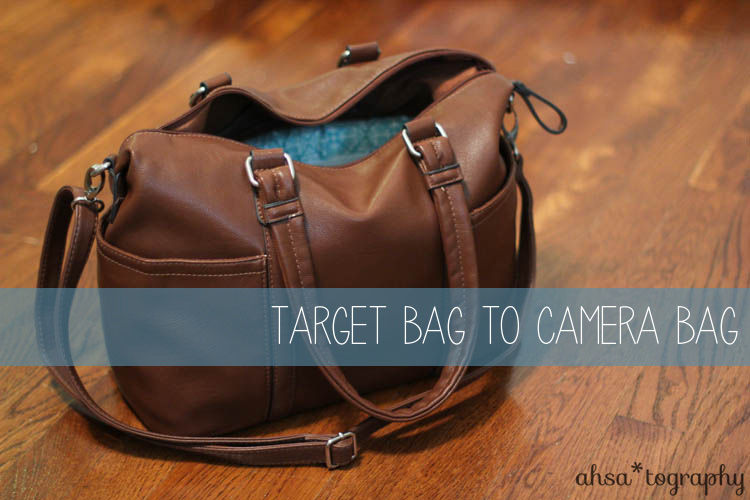
A couple of weekends ago, I made a padded insert for my camera bag and camera strap. I followed Make It and Love It‘s tutorial for the camera bag. It was the simplest tutorial I could find (I’m a beginner sewer, after all) and Ashley explains each step really well. It was especially awesome that she showed you how to calculate your own measurements, since all bags will vary in size.
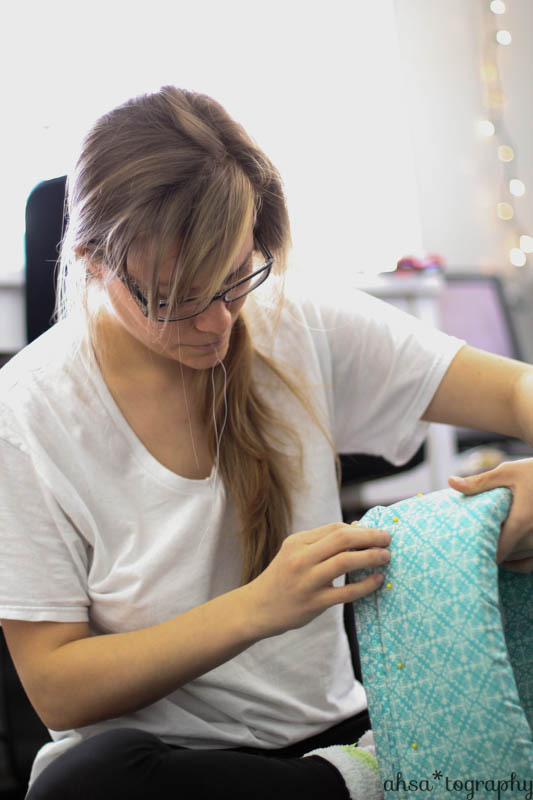
 I don’t have a big table to work on, so I just spread everything out on the floor!

This is what I look like when I’m trying to follow a tutorial…

The only changes I made were:
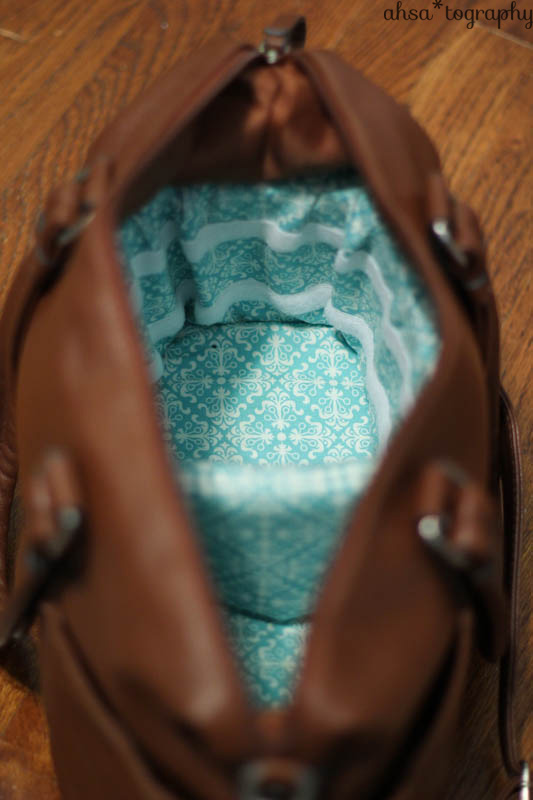
— using 1″ foam (which, in hindsight, I would’ve only used 1/2″ or 3/4″ since the 1″ takes up so much room…though it did turn out VERY padded)
— using 2 different widths of velcro (I only bought 1 box of velcro, which was only enough for one row; so, I had to dip in to my stash for enough velcro for the 2nd row)
— only made 1 insert (there wasn’t enough room for another!)
— added a layer of cardboard on the bottom of the bag for reinforcement

It turned out really cute and very nice + safe for my camera. It took me most of Sunday, but I was able to complete it in 1 day! It was a pain to hand sew the insert together, and the stitches are a lil wonky, but only the inside of the purse can see it anyways. 😉 I’m kinda in love with it, but the only problem I can foresee in the future will be the addition of more lenses. I only have space to hold one other lens. So, if I do get more than two lenses, I figure I’ll just buy another cheap bag and make another insert following this tutorial!

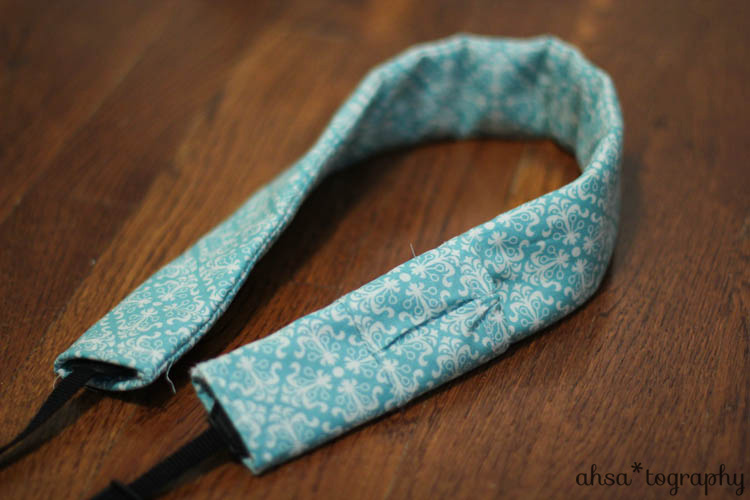
Now, on to the camera strap! For the strap, I went back and forth between two tutorials: Saltwater Quilts and Raechel Myers. Raechel Myers’s tutorial teaches you how to make a custom camera strap…showing you how to measure and create your own pattern. I followed her’s minus the ruffle. I also wanted a lens cap pocket, so I used Saltwater Quilts’s tutorial for that. It was a lot harder than you might think to get that cute little fold in the middle of the pocket (I think it took me about 40 minutes…). Oh, and I also didn’t add any velcro, since I used it all up on the bag insert.

It was a lovely way to spend a Sunday!
*ahsa
photo credits go to John for the photos of myself 🙂

Wow! You did a fabulous job. I really like the fabric you chose. I smiled when I saw the photo of you following the tutorial. You make it look easy. It’s hard to believe you are a beginning sewer.
LikeLike
aw, thank you! i’m really glad i got “too much” of that fabric 😉
LikeLike